Project 1
Floodfill
By Adam Wu
Overview
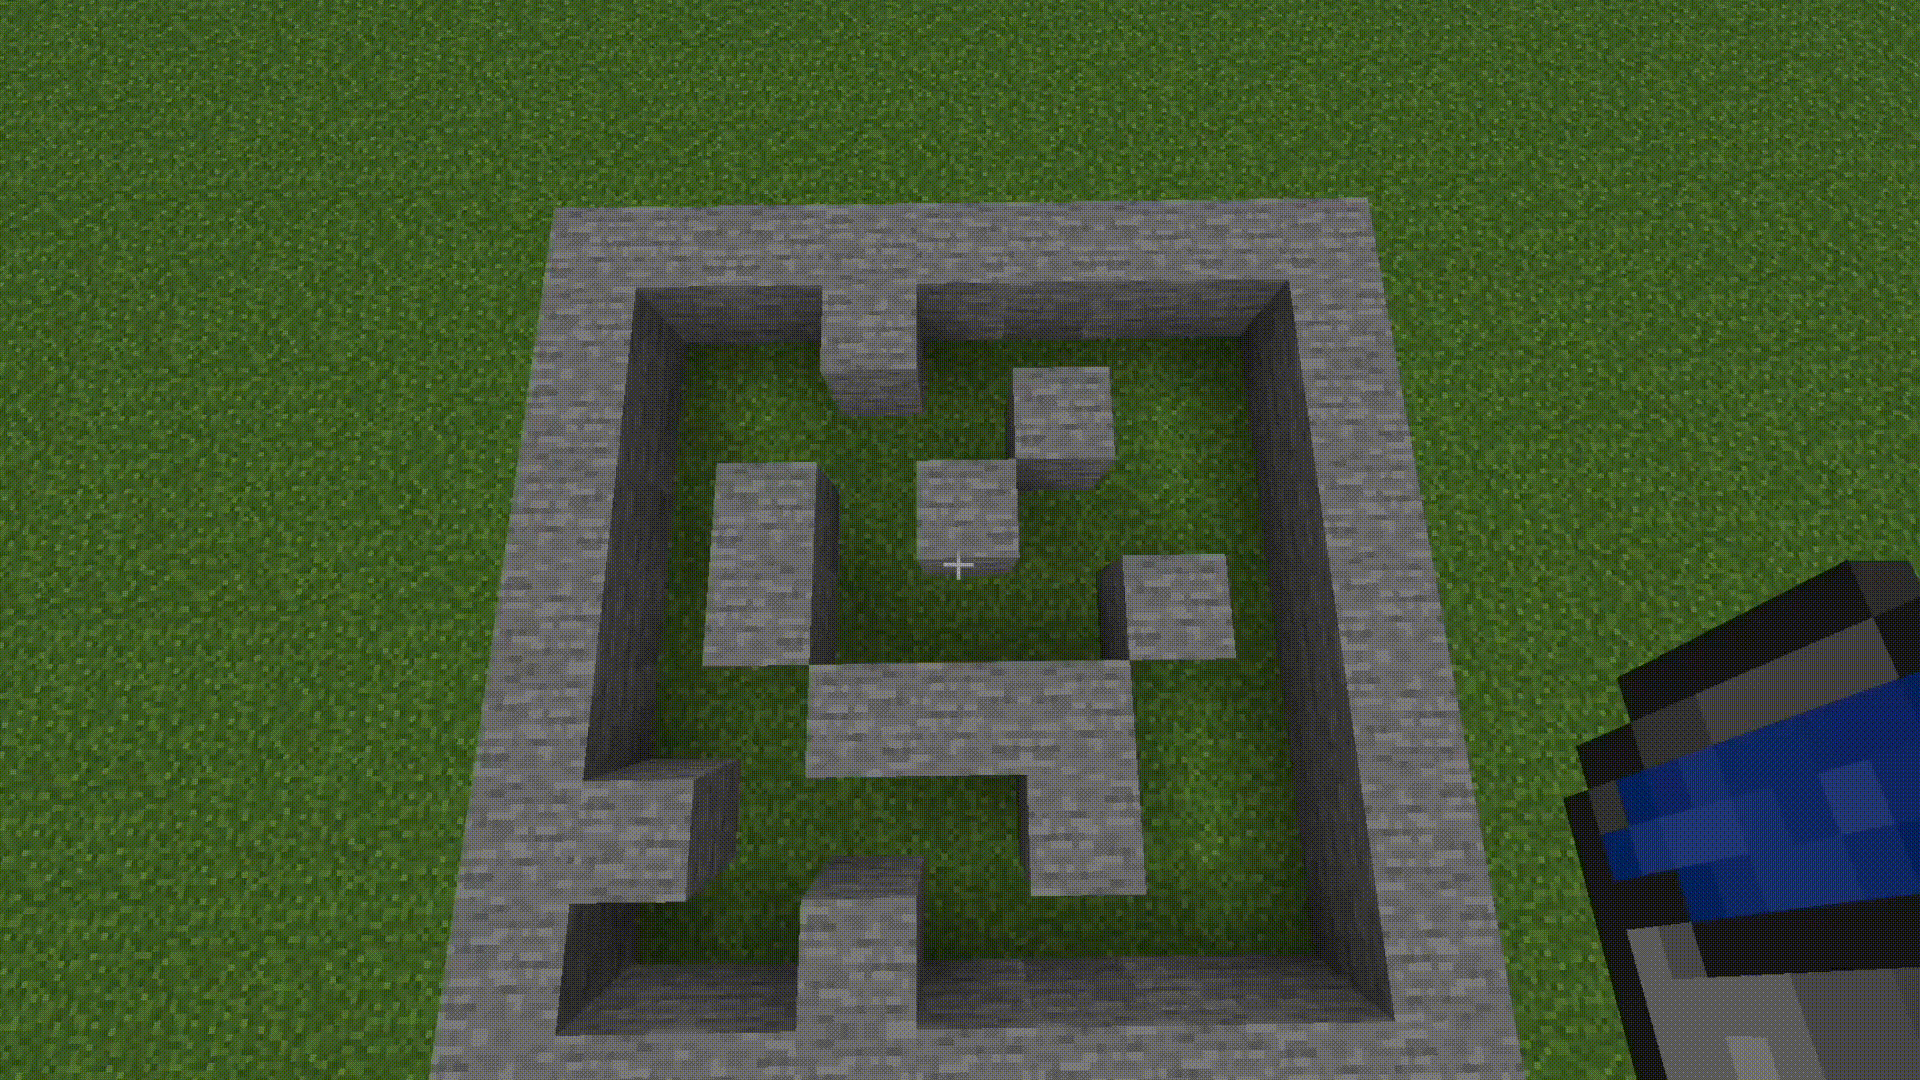
To solve the maze, our mouse needs to be able to navigate to the center of a 16x16 maze. We want to do this as efficiently as possible and achieve the best possible time, so we need an algorithm to find the shortest path, given any maze with any configuration of walls.
This may seem very difficult, but using an algorithm called floodfill we can confidently chart out the shortest path from any given point to any other given point on the maze. Floodfill is the most popular algorithm used in the Micromouse competition. If the mouse knows where every single wall is, using floodfill it will always be able to find the shortest path to the goal cell. You will find as you progress in micromouse that the hard part isn’t finding the shortest path, but rather discovering enough of the maze to create an accurate representation and measuring different paths based on other more abstract criteria, like how many corridors they are or how smooth you can turn through them. We won’t cover that for now, but keep that in mind as you think about how you wish to improve upon the guidelines we provide in this course.
Intuition
Before we explore the specifics of the algorithm, it’s important to have a high-level understanding of how it works. This was a question in our interview process, but it's a good idea to clarify any misconceptions here. As indicated by its name, a good way to visualize the Floodfill algorithm is by imagining a flood expanding out from your goal position. Imagine a bucket of water being placed in the center cell of a 16 x 16 maze. Immediately, it would spill out and expand to other cells. However if there were a wall, it would stop the water from flowing, redirecting it elsewhere. If there is enough water being added to the goal cell, eventually the entire maze will be filled with water (unless there are closed areas).
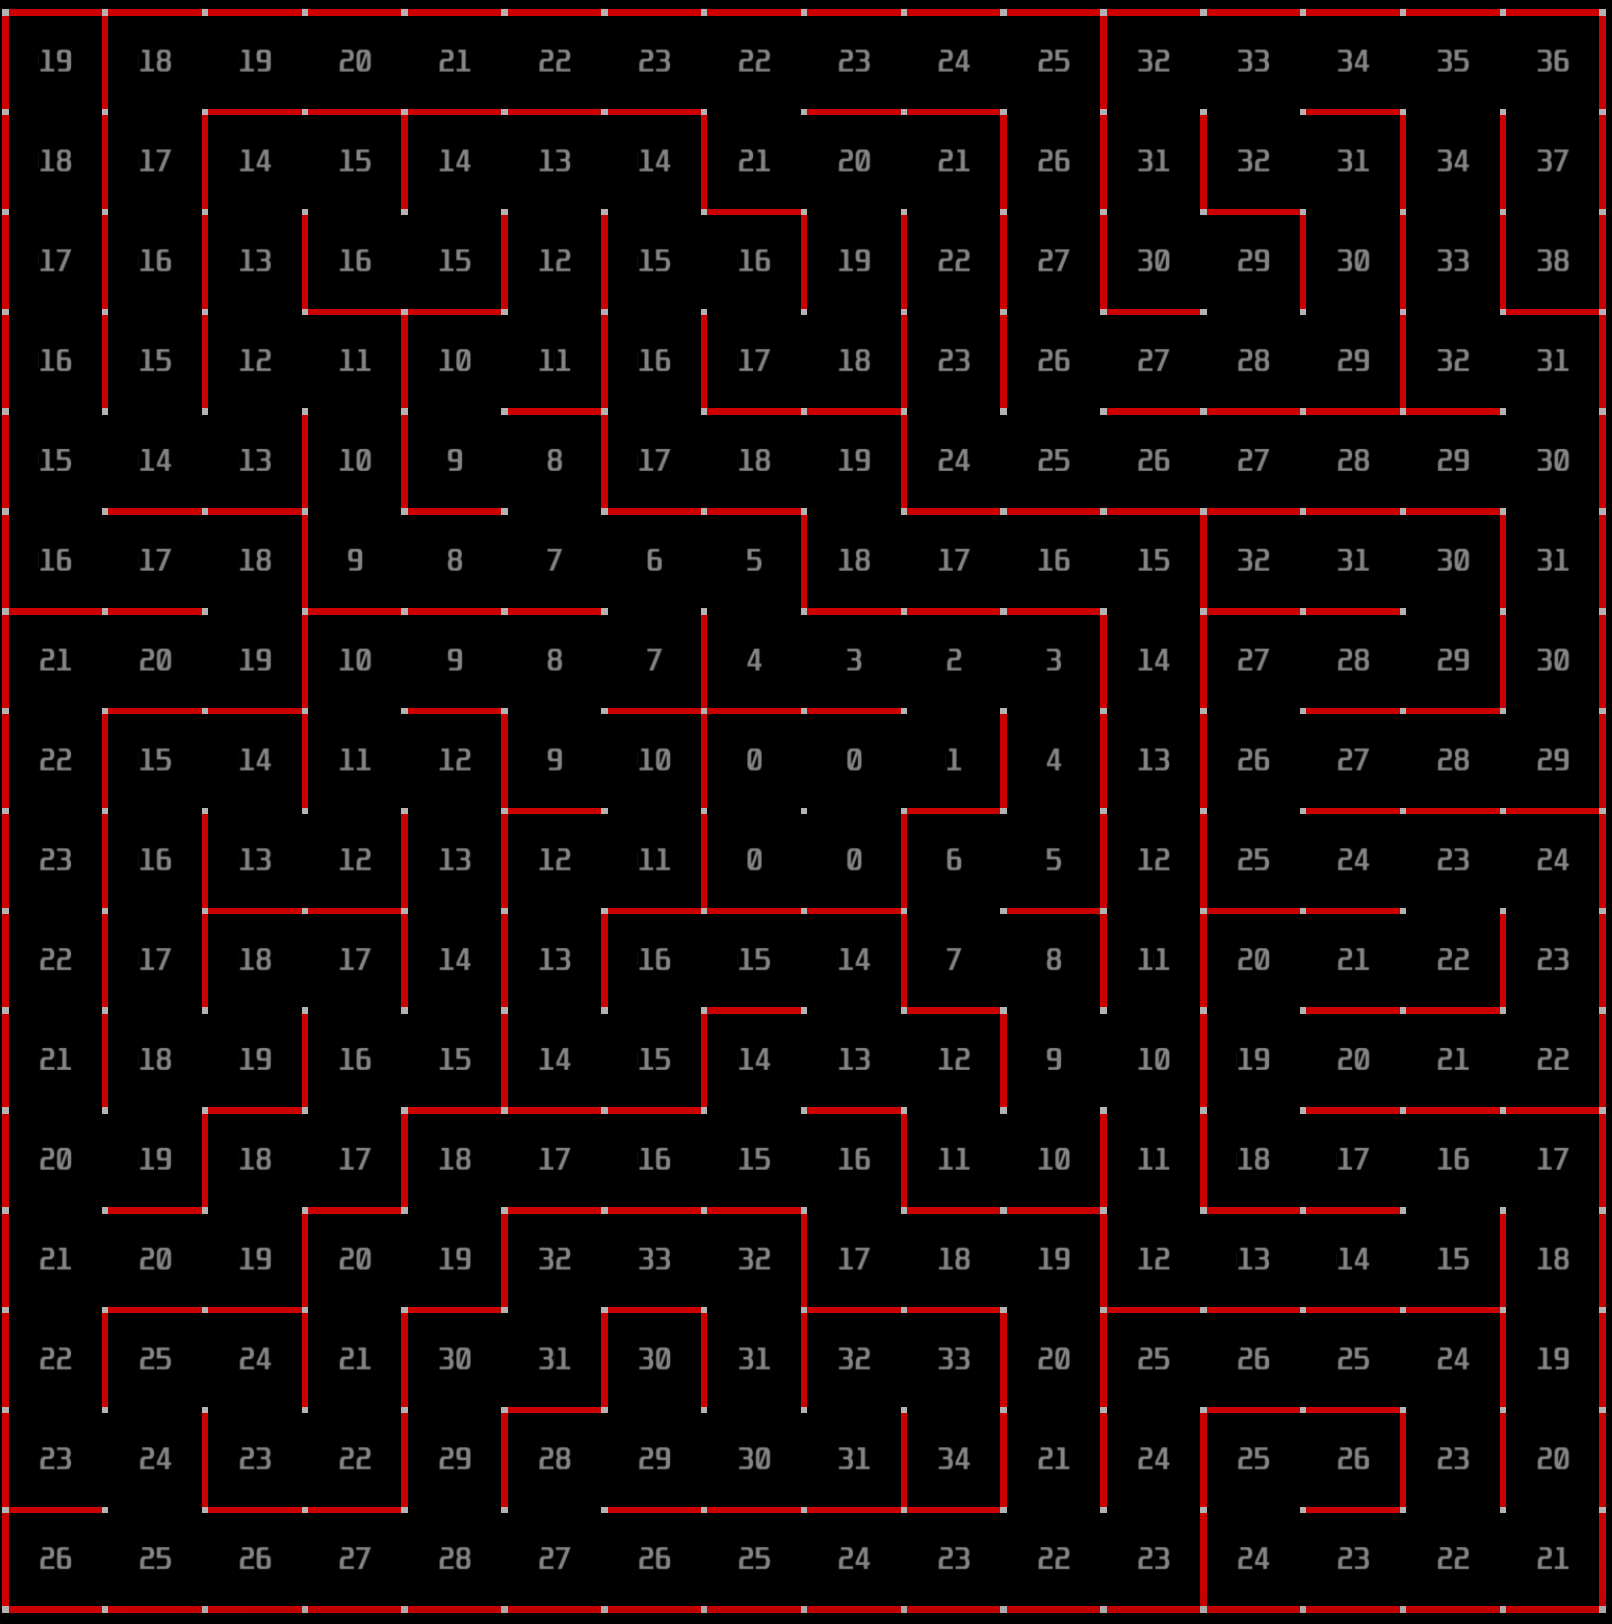
So far, this scenario doesn’t seem to be very helpful for maze-solving but now imagine that we have observers watching the maze, recording how long it takes for each cell to get wet. By referencing these times, we now know the relative distance from any given cell to our goal position. For example, a cell immediately adjacent to our goal position would have gotten wet immediately, but it would take much longer for the water to travel to a cell in the corner. This is the intuition behind Floodfill: starting at the goal position and spreading out to adjacent non-blocked cells, assigning ever increasing distances to each iteration of cells, until the entire maze is filled. The result should be something like this:
Pseudocode
Now that we understand the intuition behind Floodfill, let’s look at a pseudocode representation of the algorithm, then dive into each part.
function floodfill(maze, goalCells):
	Q = empty queue
	distances = 2D array initialized to infinity
	for cell in goalCells:
		enqueue(Q, cell)
		distances[cell] = 0
	while Q is not empty:
		currentCell = dequeue(Q)
		for each neighbor of currentCell that is not blocked:
			if distance[neighbor] > distance[currentCell] + 1:
				distance[neighbor] = distance[currentCell] + 1
				enqueue(Q, neighbor)
That’s it! At its core, floodfill is a very simple algorithm,
and with only a few lines we can implement the behavior mentioned previously.
Put into English, our approach will be to start at the goal cell(s) and add them to a queue.
If you don't know what a queue is, we have an explanation later in this guide, feel free to
check it out and come back when you understand it. After adding the goal cells, we process all the
elements in the queue and iterate through all the neighboring cells that aren’t blocked by walls.
We do this by looking at our walls array which stores walls as 4 bit masks (tip: make sure
to check the walls of both the cell you're checking AND the cell thats neighboring).
These neighboring cells are assigned a distance one greater than the currently processed cell,
and then they are added to the end of the queue. We repeat the process for every neighboring cell
until there are no more tiles left to map in the maze. To implement this behavior we
will need two modules: a queue and a getNeighbors() function.
Specific Implementation Hints
For more information on a specific implementation of floodfill, keep reading! However, note that this is only one of many possible implementations of floodfill, and you are encouraged to explore other variations as well, or whatever fits your mental model.Assigning Distances
We initialize the queue and the distances 2D array.
The queue is the data structure we use to keep track of the cells we still need to process.
distances(cell) stores the distance from cell to any goal cell. We initialize
every cell except the goal cells to be infinity, as we haven't processed them yet.
The goal cells will instead be 0. We push, or enqueue all of the goal cells into the queue.
The idea is to expand from the goal cells outwards.
Main Loop
In the main while loop, we process the next cell currentCell in the queue. We use a getNeighbor()
function with the currentCell as an argument to return a list of all neighbors not blocked by walls,
and check if the distance to that neighbor can be improved by going through a path with currentCell.
If we were to go through currentCell, the distance to the neighbor would be distance[currentCell] + 1 as it is directly one step away.
Additionally, we enqueue the neighbor to the queue because we now know this neighbor contains a valid path to a goal cell.
Eventually, if this maze has a solution, this path should extend back to the starting cell, while filling in the rest of the distances array through taking every path possible.
Queue
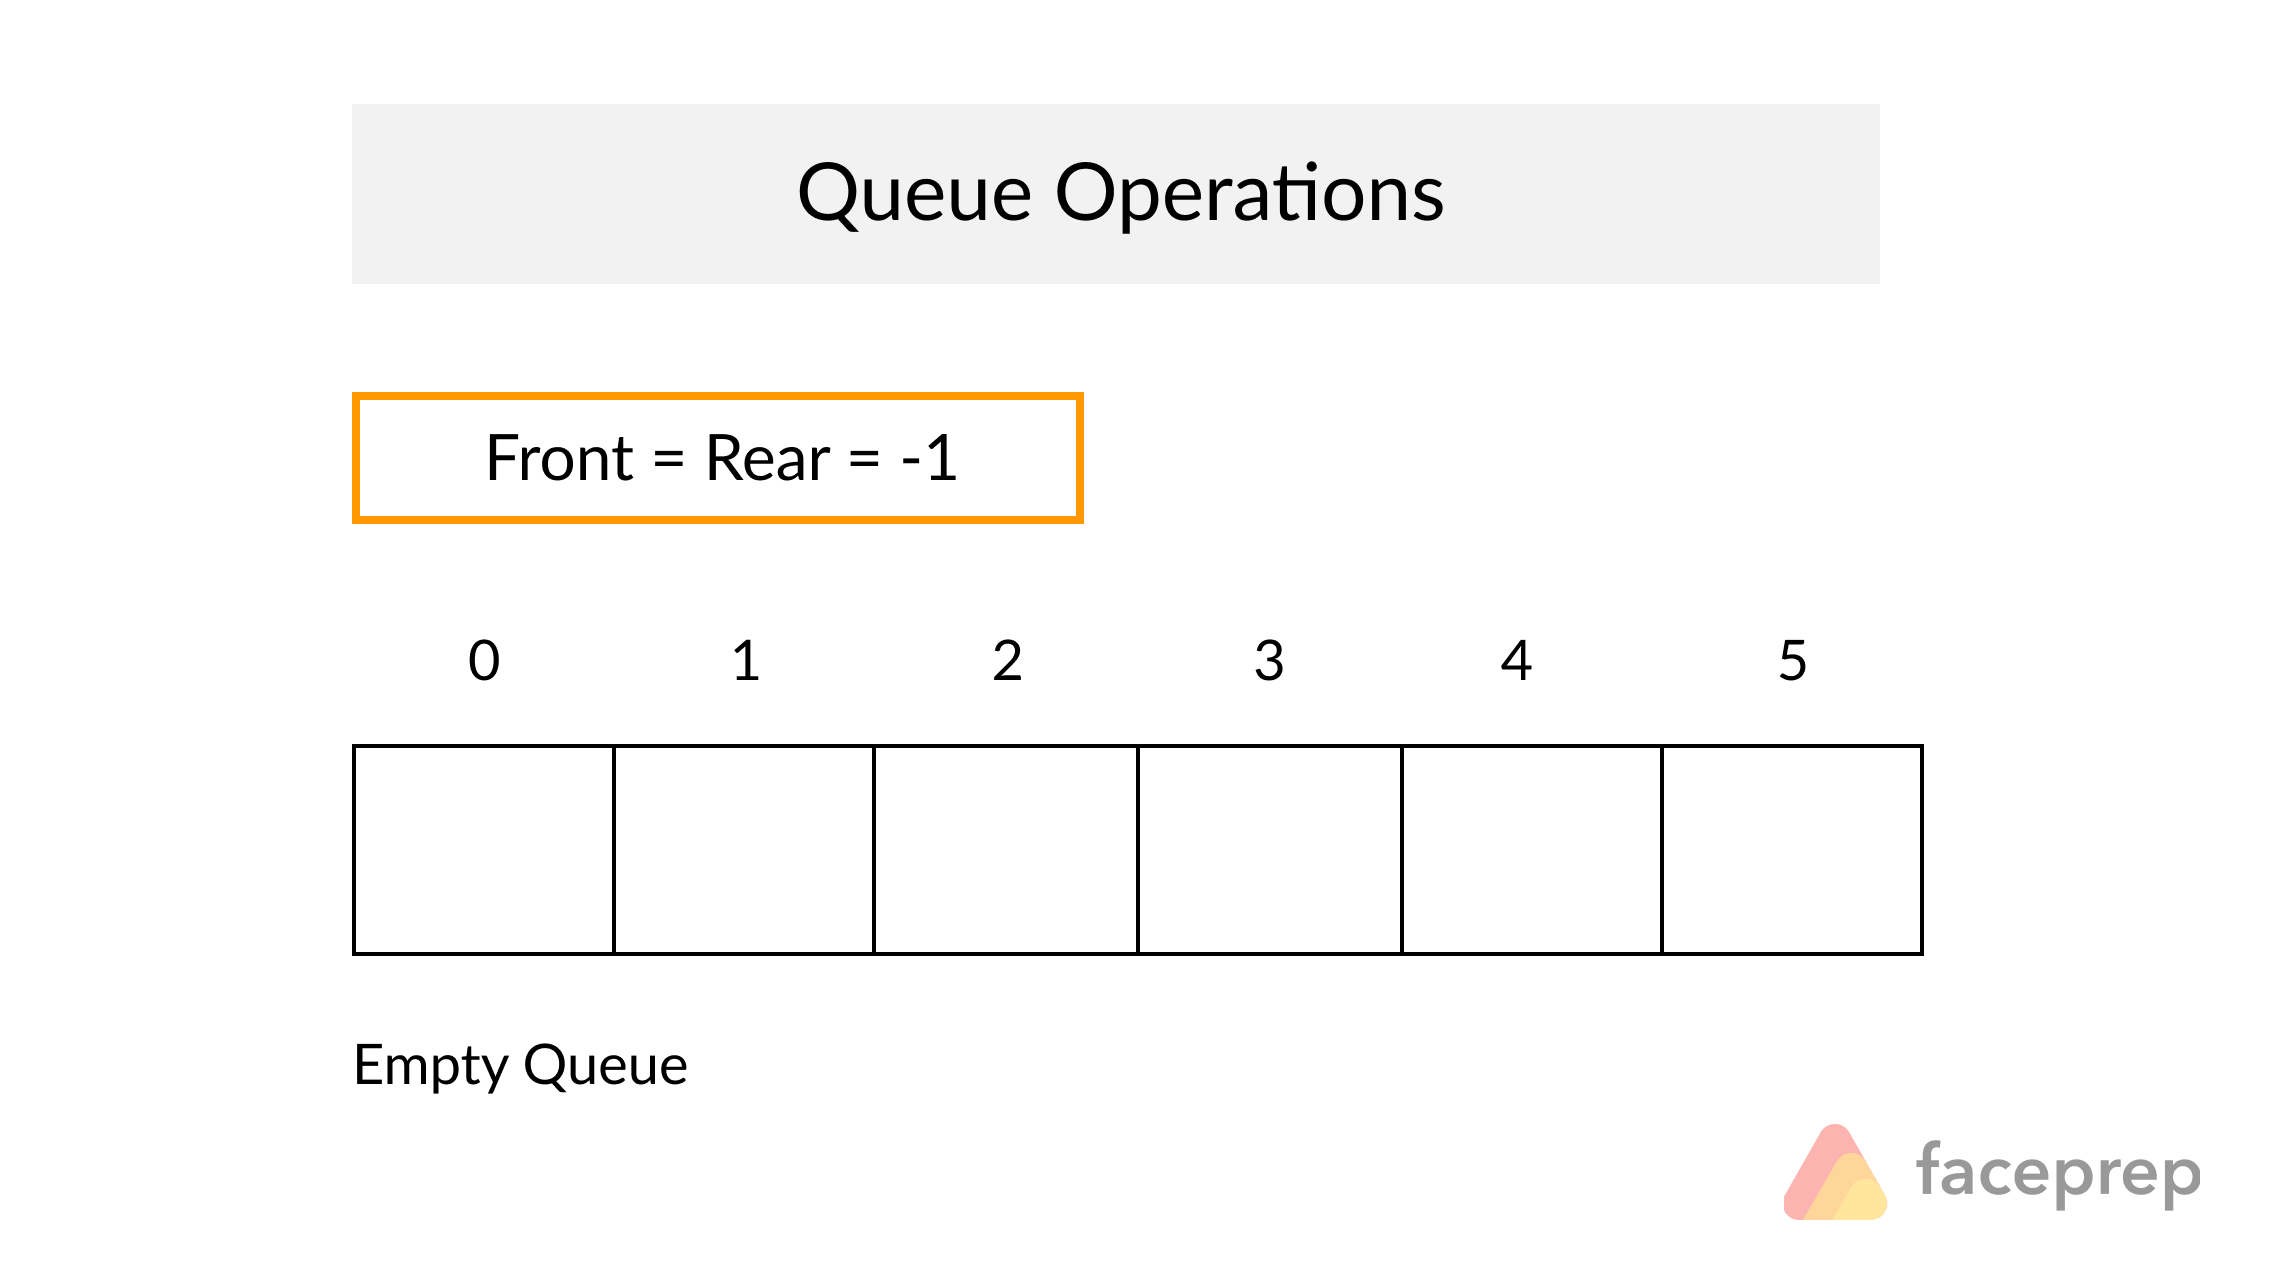
The queue is a basic and very common data structure with a lot of use cases. A good way to visualize a queue is to imagine a line for the grocery checkout. If there are many people waiting in line and the cashier becomes available, the person who has been waiting the longest at the front of the line will be the first to leave. This is exactly how a queue (which is just another word for line) works: elements are added to the end of a line, and when we remove elements, the front-most element will be removed.
In C, the most typical and straightforward implementation of a queue is through the use of an array along with two pointers to indicate where the head and tail are.
Don't worry, these aren't actual C pointers. They're just integers that indicate which index the head and tail are at.
The array will store the elements themselves, and because arrays are ordered, it is able to record the order in which we added them.
The head pointer holds the index to the current oldest/first added/frontmost item in the queue,
and the tail holds the last item.
Whenever we add items, we append it to the array and increment the tail pointer.
When we remove items, we copy the item at the index specified by the head pointer and then increment the pointer by one.
Adding items to the end of the queue is called “pushing” or "enqueuing" while removing items from the front is called “popping” or "dequeuing".
It is important to note that when the head and tail pointers are equal, we know there are no items left in the queue.
Conclusion
And that's it! You now have a solid understanding of the floodfill algorithm and how to implement it for your micromouse. With this knowledge, you can now program your micromouse to efficiently navigate through mazes and reach its goal. If you can get it to work in the micromouse simulator, the only thing left is to implement movement functions such as turn() and moveForward() to get your physical micromouse to navigate the maze as well!This section will be a real test of your debugging skills, and we encourage you to work on modules by themselves, verifying their functionality before moving on. In such a large project, organization and intuitive understanding is key, or else finding bugs and errors will be too difficult. Think about how you want to structure your functions and files before you start coding, and good luck!